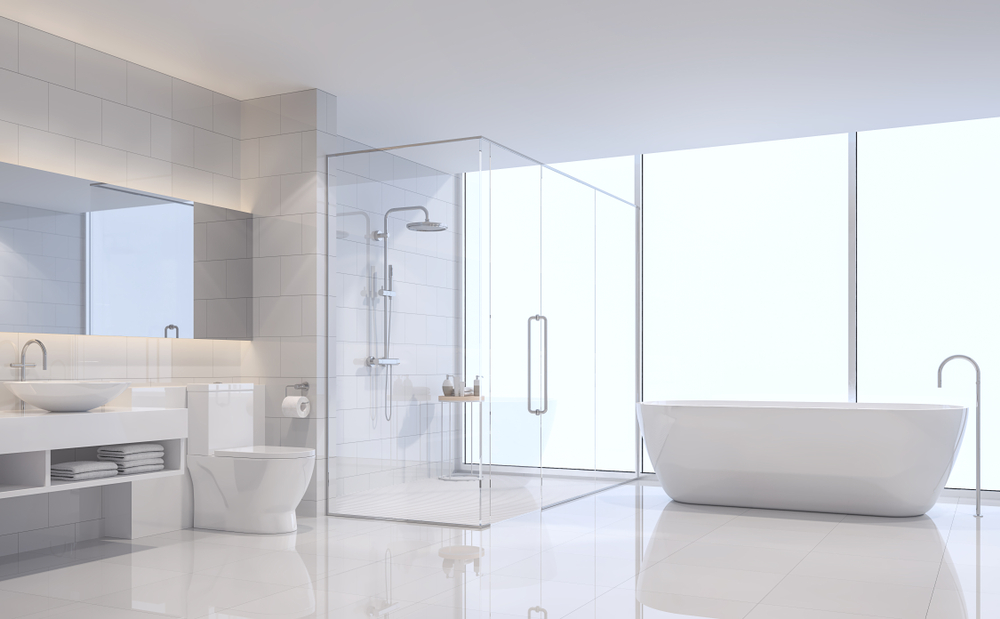
When it comes to spring cleaning it can seem like the list of things to do is endless, especially when it comes to cleaning a room like a bathroom. Nobody wants to deep clean the bathroom. This is one of those rooms which can become easily dirty and whilst many people will do what is considered a ‘surface clean’ there are some areas that go unnoticed for months at a time.
In this article we are going to look at how you can effectively and most importantly, easily deep clean your bathroom within a couple of hours during your spring clean. It really isn’t as intimidating as it might first appear and by following our simple guide, you will have a fresh, clean and sparkling bathroom worthy of royalty.
What will I need for the clean?
One of the best things that you can do before you begin your deep clean is to have everything that you will need prepared. We have created a spring-cleaning checklist which will be super useful when it comes to the clean. Different people prefer different cleaning products so your choices might vary slightly but this deep clean bathroom list contains everything you could possibly think of and then it is down to you to choose your weaponry.
- Bleach
- Glass cleaner
- Baking soda and vinegar
- Toilet cleaner
- Polish
- Tile and grout cleaner
- All-purpose cleaning solution or wipes.
- Mop and bucket
- Vacuum cleaner and/or dustpan and brush.
- Cleaning cloths.
- Sponges.
- Fine, thin brushes (a toothbrush works brilliantly.)
- Boxes for storage.
Once your arsenal is in place you can begin your deep clean of your bathroom.
Spring Cleaning Guide to Deep Clean Bathroom
It is time to begin your spring clean, your bathroom will thank you for it and while it may seem like a mammoth task right now, you can rest assured that in just a few short hours your tiles will be glistening and your shower sparkling. Let’s look at some simple steps to make the job a cinch.
Preparation
Begin by removing any items that can be moved out of the room, this might include towels, bathmats, cosmetics and beauty products, plants and decorative items and anything else that is not secured to the floor. By freeing up the room of any clutter, the cleaning process will be much easier. Put all of these items into the boxes you collected and put them into another room for now.
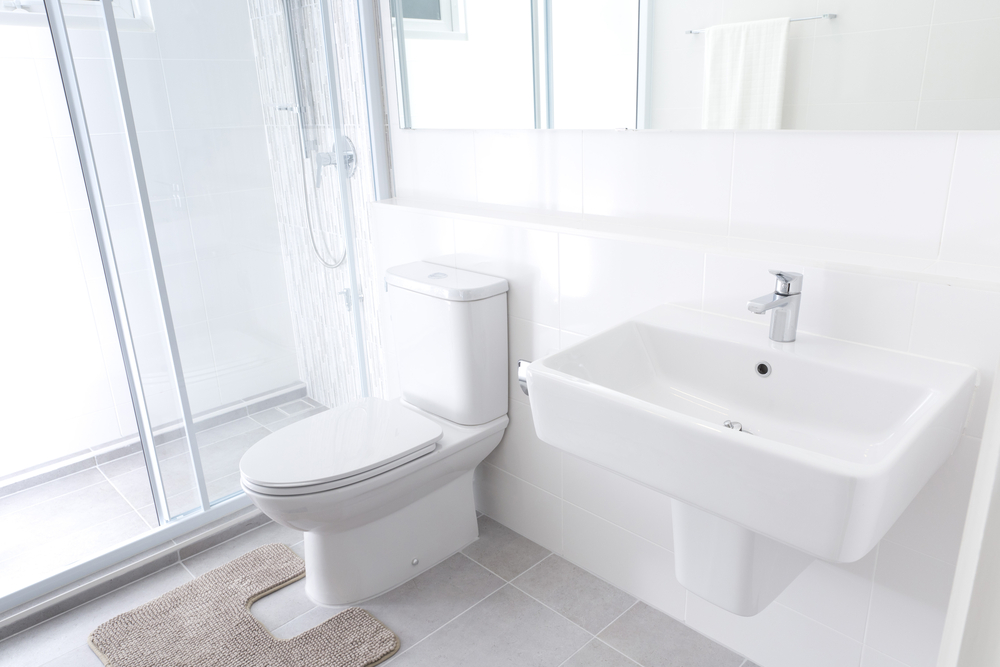
The Toilet
There are many areas to tackle when cleaning the bathroom, but we are going to start with the most dreaded, the toilet. Depending on how dirty the toilet is will depend on what products you will use.
- If there is only light or no soiling on the inside of the bowl, you might simply use a regular toilet cleaner which you will leave to soak on the area to kill any germs and give that just cleaned feel. However, if there is any staining in the bowl it might require a little more elbow grease.
- Some people prefer to use a bleach (if you do this, make sure you fully air the room during use as bleach fumes can be pretty overpowering. Also note that bleach should not be mixed with any other product.) Other people might prefer a more natural solution and a mixture of vinegar and baking soda can make a powerful stain remover.
- The toilet seat and the outer parts of the toilet can be cleaned with a multipurpose cleaner which can be worked in with a cloth and rinsed with clean water.
- This can also be done using a multipurpose cleaner unless there are any sever marks present.
The Shower
Next in the bathroom deep clean we will move onto the shower. Now, we are going to presume that you have a shower cubicle, however, if you have an over-bath shower, just omit some of the steps we mention here, but you may wish to remove your shower curtain and clean separately to remove and mildew.
- We will begin with the glass of the shower cubicle, if the glass is already clear, you can simply give it a wipe over using a glass cleaning solution.
- However, if the glass is a little more stained, especially with water marks then it is time to get out the baking soda and vinegar again, this is excellent at removing water marks, it may not smell great but when worked in with a sponge (be careful when using an abrasive one, you don’t want to scratch the glass) and rinsed, it will be sure to remove the marks.
- Tackling the shower itself can be tricky as it is quite common for dirt to become trapped within the plastic, especially where certain components join up and on the shower head. The best way to clean these tricky areas is to use some cleaning solution and a toothbrush to get into the nooks and crannies. Once you have dislodged any dirt you can simply rinse it down the drain using the shower head.
The Bath and Basin
Provided that there are no serious stains or marks on the bath, it can be cleaned using your all-purpose solution. But any marks can be tackled with…you guessed it, vinegar and baking soda. Some people also swear by lemons to do the same trick. The key here is the acid in both the lemon and the vinegar, the baking soda simply acts as an abrasive.
- Taps can be cleaned with a solution of your choice and if there is any limescale present, you should soak some cotton wool in vinegar and wrap it around the tap for a few hours, or preferably overnight. The taps can then be rinsed and the limescale should come away easily by wiping.
- Don’t forget to clean the plughole, freeing the area of any hair or debris which may have collected there.
- Once you have finished, you can give the bath a final rinse with clean, cold water.
- This same process can be repeated for the basin.
Floors and Tiles
Now that all the main fixtures are clean and spotless, you need to turn your attention to the larger areas of the floor and tiles. We save this for the end of bathroom deep clean so dirt gets knocked down and then can be cleaned up after. We are going to presume that you have a hard floor in the bathroom as this is the most common.
- Begin by vacuuming the entire floor, or if you prefer you can use a brush and pan to sweep up any bits that might be present.
- Check for any significant marks on the floor which may require some elbow grease to remove and tend to these using the same techniques we have used around the other areas of the bathroom.
- Focus your attention on the tiles next, again we can employ the same techniques of a simply wipe down or more intensive stain removal. If your grout is looking a little worse for wear, you can use a grout brush to bring it back to life.
- Now we move back to the floor. Fill your bucket with a solution of your choice, you might choose bleach and water, a floor cleaner or your multipurpose solution. Mop the entire floor and leave it to dry. You can take a break whilst waiting and have a well-deserved cup of tea.
The final touches
Once your floor is dry, you are free to go back into the bathroom. At this point, we are going to put the finishing touches to the room and finish the bathroom deep clean.
- Use a glass cleaner to clean any mirrors and windows and polish for any wooden or plastic surfaces such as shelving or windowsills.
- Return to your boxes and decide on the things that you wish to bring back into the room. This is a time that you should be brutal, only keeping what will serve you well in your new, spa-like bathroom.
- Put the items back into the room and leave what you do not want in the boxes.
The leftovers
Now that you have a beautifully pristine deeply cleaned bathroom, you are left with some items which have not earned their place back in the room. But what do you do with these things? There will be some items that you can happily get rid of such as half used bottles of body lotion from a Christmas long forgotten or candles which have been burnt all the way down. But there may be some items which you wish to keep but do not currently want in the bathroom, this might include things like towel bales, expensive perfumes or decorative items. A great way to keep these items but not have them cluttering up your home is to put them into a storage facility, your items will be safe and well looked after until such a time that you are ready to use them again.